by Foster D. Coburn III | Feb 27, 2026
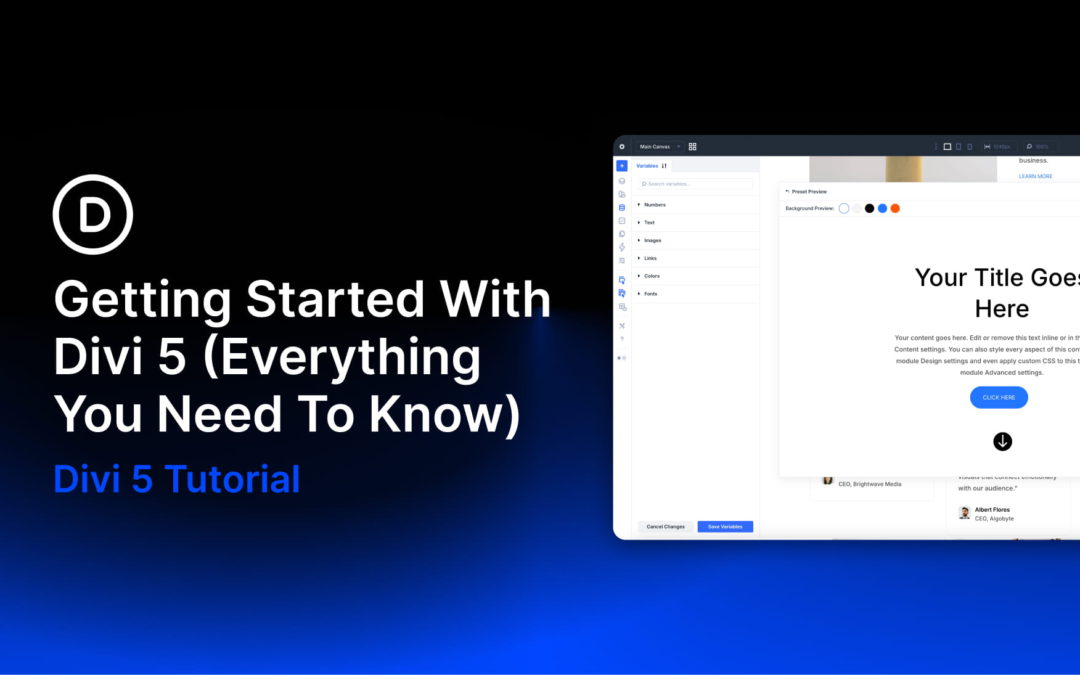
Divi 5 represents a shift from a traditional page builder to a modern design system built for long-term scalability. It combines the familiar drag-and-drop Visual Builder with new features like Flexbox and CSS Grid support, infinite nesting for complex layouts, global Design Variables for effortless consistency, and dynamic features like the Loop Builder and Interactions, all within one cohesive system. It enables lighter page output, smarter page rendering, fast builder performance, and a scalable foundation ready for tomorrow’s web standards.
In this post, we’ll cover everything you need to know about Divi 5, including how to get started, a full tour of the revamped Visual Builder, and insights into the new features that set it apart from other page builders.
What you’ll learn in this post:
- How Divi 5 works and what changed under the hood
- A tour of the Visual Builder and where the core tools live
- How to build modern layouts with Flexbox and CSS Grid
- How to stay consistent using Design Variables and Presets
- How dynamic features like Loop Builder and Interactions work
- How migration and backward compatibility work if you’re upgrading
Before You Begin
If you’re starting from scratch, the steps below will get you from a fresh WordPress install to your first Divi 5 page in minutes.
- Install WordPress on your domain and hosting.
- In WordPress, go to Appearance and upload/activate the Divi 5 theme (from your Elegant Themes Members Area download).
- Create a new page and click Edit With Divi to launch the Visual Builder.
- Choose a starting point: a premade Layout Pack, Divi Quick Sites, or a blank page.
Do I Need To Switch Over To Divi 5?
Yes. Divi 5 is now officially the version you should use to build your websites. It delivers a faster Visual Builder, modern layout tools like Flexbox and CSS Grid, and a rebuilt foundation designed for long-term performance and scalability.
If you are starting a new website, you should begin directly in Divi 5. There is no advantage to starting on Divi 4, because anything you build in Divi 5 is native from day one. If you have an existing Divi 4 website, you should still switch, but do it safely.
Divi 5 includes a Backward Compatibility System that uses the Divi 4 framework only where needed, on a per-page and even per-module basis. This keeps your existing layouts and third-party modules stable while you transition, so you can move over without rebuilding everything at once.
Important: Always migrate on a staging site first. Even with backward compatibility, staging gives you a zero-risk place to run the compatibility scan, confirm your key pages and Theme Builder templates render correctly, and test third-party extensions before making any changes on your live site.
The safest approach is:
- New site: Start directly in Divi 5.
- Existing site: Create a staging site, run the Divi 5 Migrator compatibility scan, review the report, migrate on staging, then repeat the same migration steps on your live site only after everything checks out.
- Mixed sites: Expect a transition period. Backwards compatibility may be needed while third-party products catch up with Divi 5, allowing your site to keep working smoothly as those tools become fully compatible over time.
by Foster D. Coburn III | Feb 27, 2026
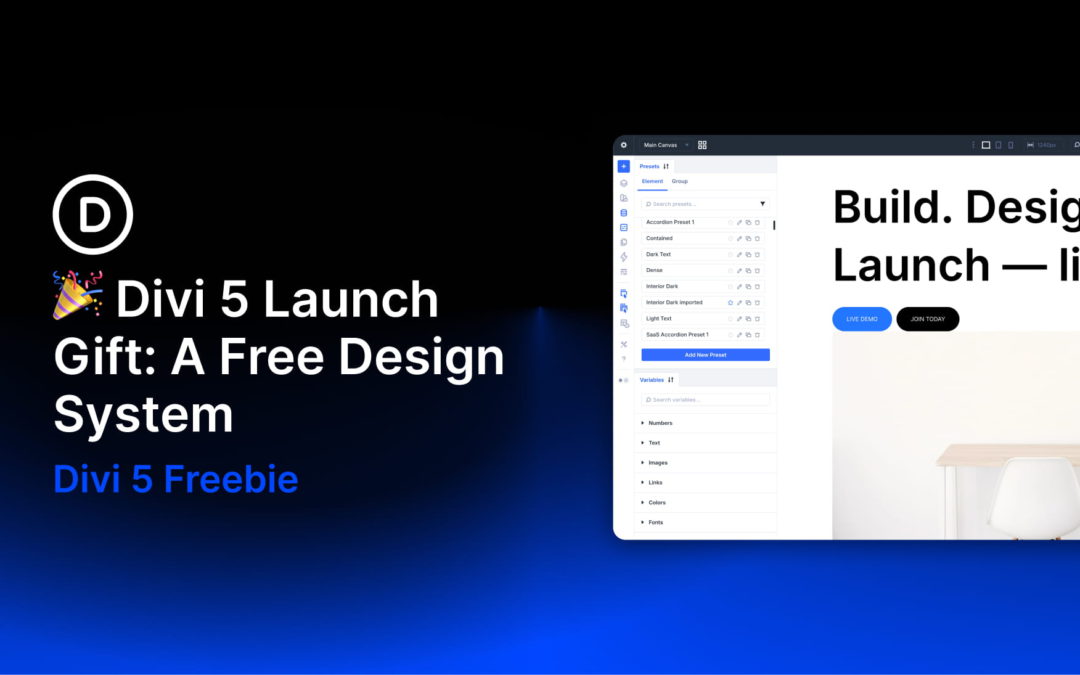
The official launch of Divi 5 is here, and we’re celebrating with a free, production-ready Design System you can import into any new Divi 5 site.
This Design System is built to show how Divi 5’s modern design infrastructure fits together in a real project. It includes hundreds of presets, complete page layouts, Theme Builder templates, and a structured system of Design Variables that power everything.
If you have ever wanted to see how Design Variables flow into Presets, how Presets can be stacked and nested, and how that consistency carries across layouts, this is the cleanest example we can give you.
by Foster D. Coburn III | Feb 25, 2026
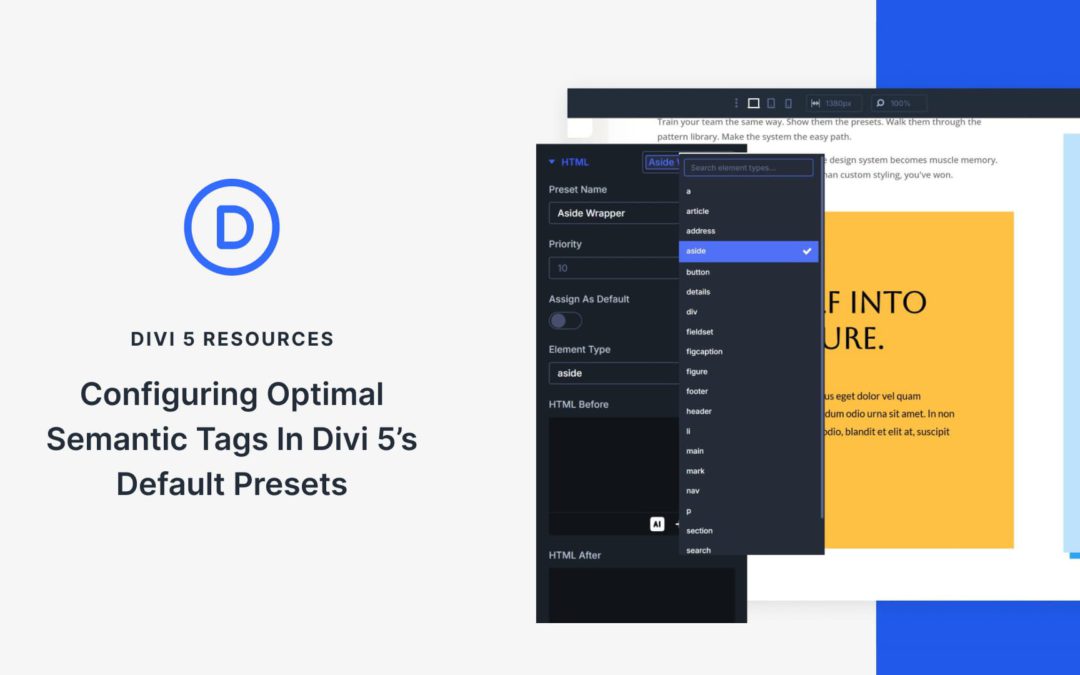
Skipping the process of assigning semantic wrappers can feel tempting. It often means building the page first, then going back to configure tags for each element, and repeating that work on every new section or page.
Divi 5 removes this friction by using presets. You can define semantic tags once at the default level, and every element you add afterward will automatically follow the correct HTML structure.
In this post, you will learn which preset settings to configure so your builds are semantically sound from the start, even before you begin creating pages. Have a look!
What Are Semantic Tags?
Every element on a webpage is wrapped in a tag. Some tags describe the type of content they contain. These are semantic tags. The word semantic means “relating to meaning,” so semantic tags add meaning to your markup.
Tags like header, nav, main, section, article, aside, and footer fall into this category. A header tag tells browsers this content functions as a header. A nav tag indicates navigation. An article tag marks content that stands alone, like a blog post. Each tag describes what is inside it, not just that something exists there.
Other tags serve as neutral wrappers that do not describe the content type. These generic containers hold elements together for styling or layout, but convey nothing to browsers about the page’s function or purpose.
And Why They Matter
Screen readers rely on semantic tags to help visitors move through your site with ease. When you label your sections properly, people can skip straight to what they need. They don’t have to wade through every element in order. Your markup becomes functional, not just visual.
Search engines read the same code. Their bots scan for semantic signals to figure out how your content connects and which parts carry the most weight. Clean tagging gives them a clear map of your site. They can’t see your layout or styling anyway, so the markup itself does the heavy lifting.
by Foster D. Coburn III | Feb 24, 2026
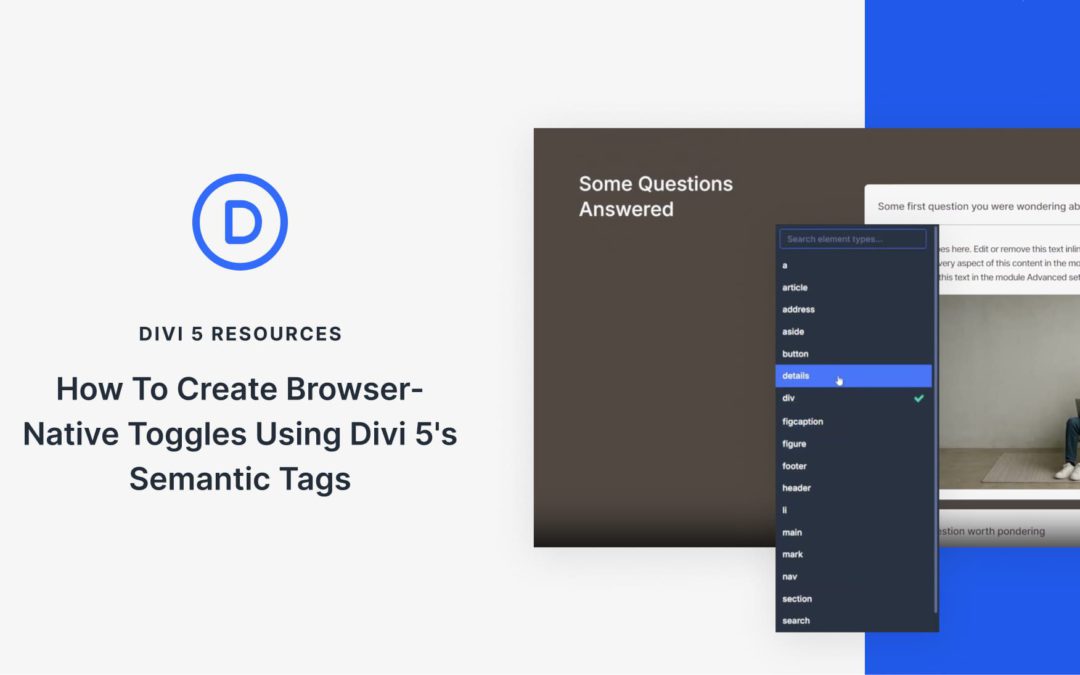
Accordions and toggle content have traditionally required JavaScript to handle the interaction correctly. Modern HTML includes native elements that get you closer to a non-JavaScript version of that.
<details> and <summary> elements create functional disclosure widgets using nothing but a couple of simple elements. These elements handle expand/collapse behavior automatically, support keyboard interaction out of the box, and work without any extra JavaScript.
Divi 5’s Semantic Elements allow users to work with these native HTML elements (and many others) directly within the Visual Builder. You can construct toggles using Divi’s layout elements while outputting clean, semantic HTML that browsers understand natively. This post covers how to build a custom toggle using Divi 5’s Element Type settings, Divi design settings, and some simple CSS to make it all really smooth.
by Foster D. Coburn III | Feb 23, 2026
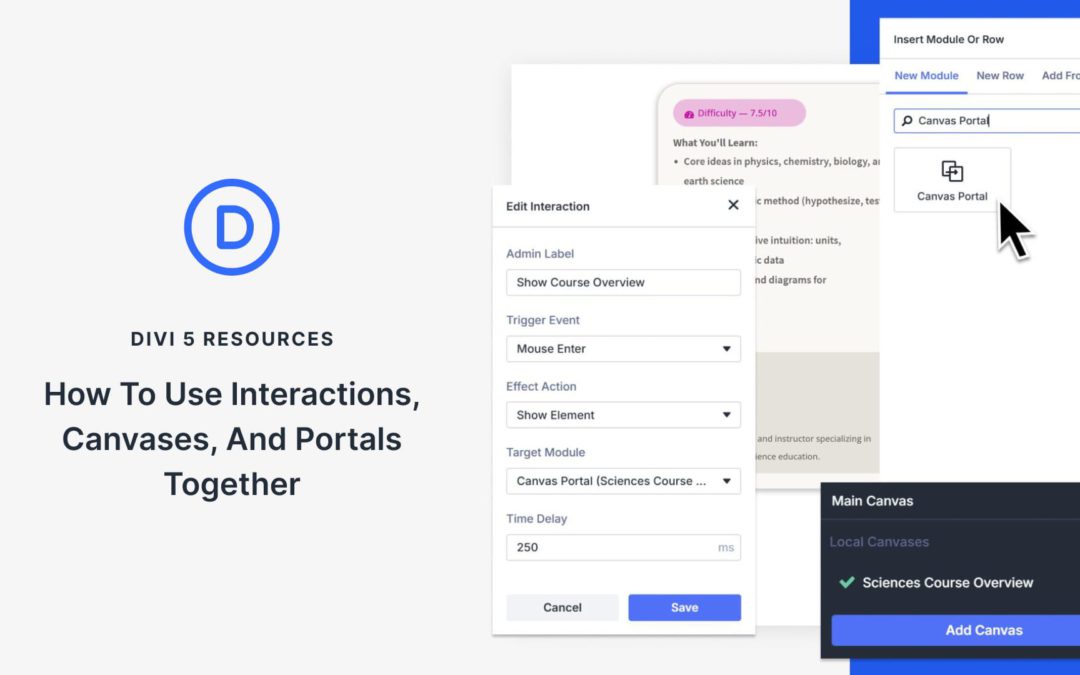
Canvases were recently introduced in Divi 5, providing detached workspaces for building off-canvas menus, staging areas, modal popups, and more.
Combine these Canvases with Interactions, and you have a complete system for controlling exactly how information flows while making your website interactive. That includes click triggers, scroll reveals, hover effects, and more.
Working together, these features give you a high level of control, and the setup is simpler than you might expect. In this post, we’ll show you how to wire everything together in Divi 5.
What Are Canvases In Divi 5?
Building modern websites means managing layers of content. Your main page layout, sure. But also popups, slide-out menus, modal windows, and other elements that appear on demand. Things get messy.
Canvases can give you separate workspaces for different parts of your design. Your page starts with a Main Canvas where your primary content lives. Then you can create additional Detached Canvases for slide-out menus, modal popups, sidebars, and newsletter forms. Each canvas can exist independently, keeping your builder interface clean.
These Detached Canvases can stay hidden in the Visual Builder. On the front end, canvas content is displayed once it’s appended to the Main Canvas (or when Divi automatically appends it when needed). No clutter. When someone visits your live site, the elements can appear when you trigger them.