by Foster D. Coburn III | Jan 11, 2023 | Tutorial, WordPress
We’ve been fans of the Divi WordPress theme since purchasing a lifetime license back in November 2015. In the seven plus years since that purchase, we have used Divi on all sites in the Unleashed family as well as the numerous sites we’ve built for clients.
While building all these sites, we have gained expertise in Divi and now we want to share things we’ve learned with everyone else. To do this, we have built the Divi Unleashed site which is dedicated to sharing our Divi knowledge. The site launched today with three videos. Over time, we expect to add many hours of video training. For now, we’d like to share the three videos with you so you can begin your Divi learning journey.
Learn about the Divi Unleashed Web Site, Foster Coburn’s journey to Divi, what you can expect to learn and how you can get a free Divi child theme.

Learn why you should use a child theme with Divi, how to install the Divi Unleashed Child Theme and the features it adds to Divi.
You’ll see how to load a logo file in Divi Theme Options and then how to display the logo using Dynamic Content in the Divi Menu module.
What’s Coming
Our goal is to add a new video each week that either teaches a general Divi skill or explains a specific task in Divi. Of course we are open to suggestions from you, our viewers, as to what we should add to our list. We hope you enjoy these videos as a start and we’ll get back to work creating more videos.
by Foster D. Coburn III | Aug 24, 2021 | Tutorial, WordPress
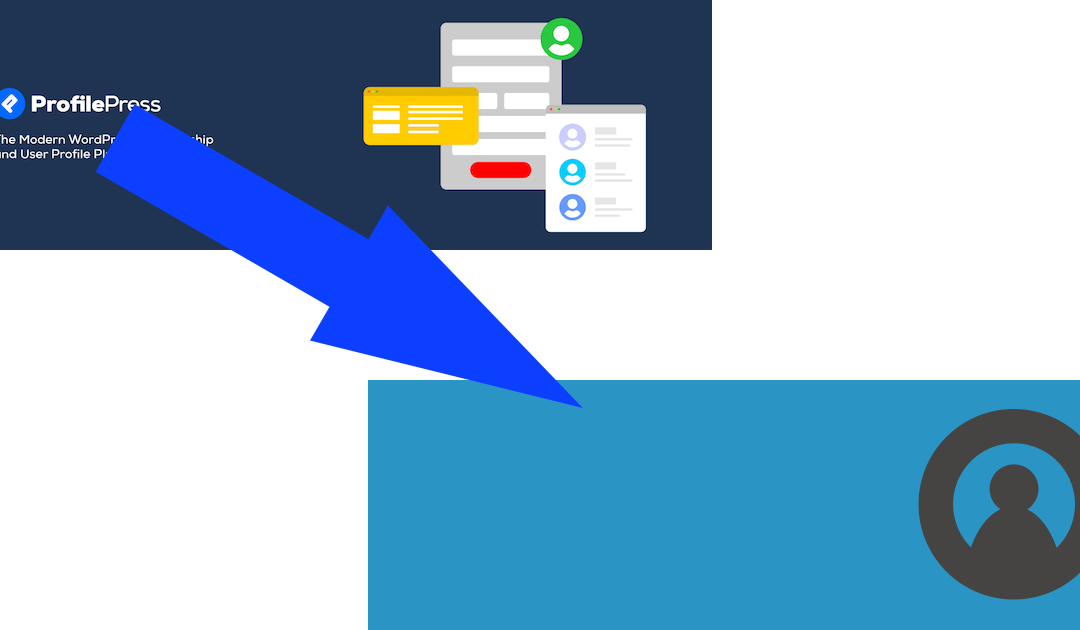
Three months ago we told you about WP User Avatar Plugin Ruined by ProfilePress. The WordPress community has had a massive response to this plugin being hijacked and the original plugin has been flooded with one-star reviews. Strangely there are also some new five-star reviews though many of those seem sketchy at best.
Not only was the original plugin hijacked and changed drastically, the new version also had major security issues. While those issues have been fixed for now, it still shines a poor light on the new developers. These new developers have also had a very poor attitude when confronted with the hijacking and security problems.
Personally we feel the developer should be banned from the WordPress repository for their behavior. Whether that truly happens or not, we don’t know. Regardless, those who simply want a plugin to handle avatars need a new solution since the new developer has ruined the once popular plugin.
One option is that some other developers have taken the old WP User Avatar plugin (prior to its hijacking) and forked it under new names. In other words, the same old functionality is available under a new name. When we needed an alternative, those forks didn’t yet exist. Our solution was the WP User Avatars plugin. The only name difference is the “plural” of avatar. On each of the sites where we have used WP User Avatar, it took maybe 5-10 minutes to make the switched. Granted, we only had 3-4 users on each site so it wasn’t a big deal. If you have a lot of users with custom avatars, one of the forks may be a better answer.
Regardless of your choice, please avoid ProfilePress at all costs. They are not a developer that can be trusted.

by Foster D. Coburn III | Aug 3, 2021 | Tutorial
No matter your level of Web design experience, there is always something to learn. There is rarely a day when we don’t learn something new to help us build better sites in less time. We want to share some of our favorite tutorials with you and we have added more than 400 tutorials to our site. Visit WordPress Web Design Tutorials to check them all out.
Right now we have tutorials in 13 different categories: Business of WordPress Web Design, WordPress E-Commerce, WordPress Technology, Divi Design Elements, Divi Theme Builder, Divi Layout Packs, WordPress Hosting Reviews, WordPress Design Tips, Search Engine Optimization, Online Marketing, Social Media Marketing, Web Graphics and Web Design Fonts.
Within each of the categories, you’ll find thumbnails and headlines of each tutorial. Below you can see an example of the Search Engine Optimization category.
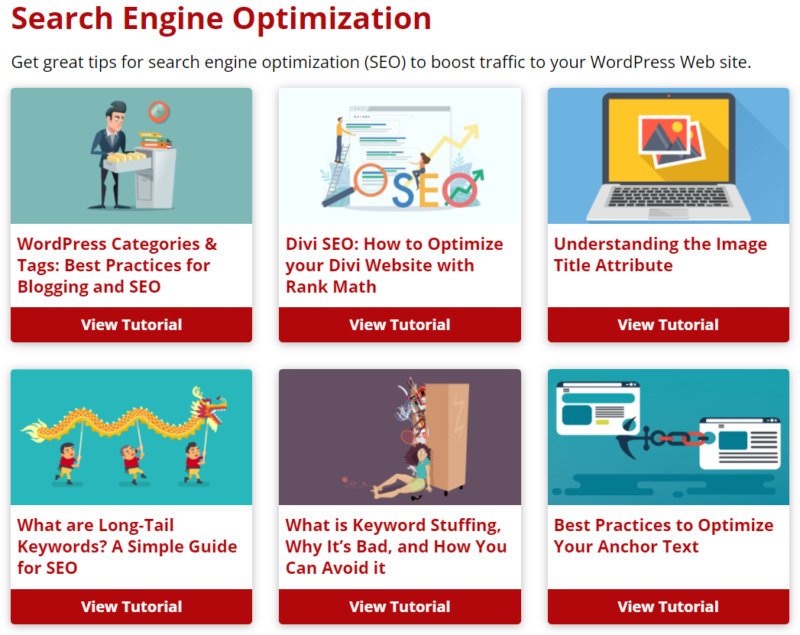
We plan to continue adding more tutorials as time permits with a goal of having more than 1000 tutorials on the site before the end of 2021. Our hope is that you can improve your own WordPress skills through these tutorials. Should you need some help with your site, just let us know!

by Foster D. Coburn III | Jun 27, 2019 | maintenance, Tutorial
Before I talk about the actual pains and gains, I want to first list the description of the plugin provided in the WordPress repository.
“This plugin is designed to link WordPress with the SiteGround Performance services. It WILL NOT WORK on another hosting provider.”
So if you are hosting a site on SiteGround, you should be using the plugin. Sites hosted elsewhere can not use it at all. I’ve used the plugin on a number of sites hosting for myself and for clients on SiteGround and have some very positive and very negative results. I’ll discuss those below as well as some basics on configuring the plugin.
It Killed Stripe
The worst pain I had was on an e-commerce site. Visitors trying to make a credit card payment via Stripe would get an error message. After a lot of back and forth with support personnel, the only way to get Stripe working again was to disable SG Optimizer completely. Strangely, I have at least five other sites on SiteGround using the same e-commerce setup and they’ve not had the Stripe issue. While there may be a way to get SG Optimizer working with Stripe on the problem site, it isn’t worth the potential loss of sales for the client.
Working Through the Settings
There are four tabs to configure and I’ll go through each of them separately with the settings you should choose. Feel free to experiment with the settings to get the best performance for your site.
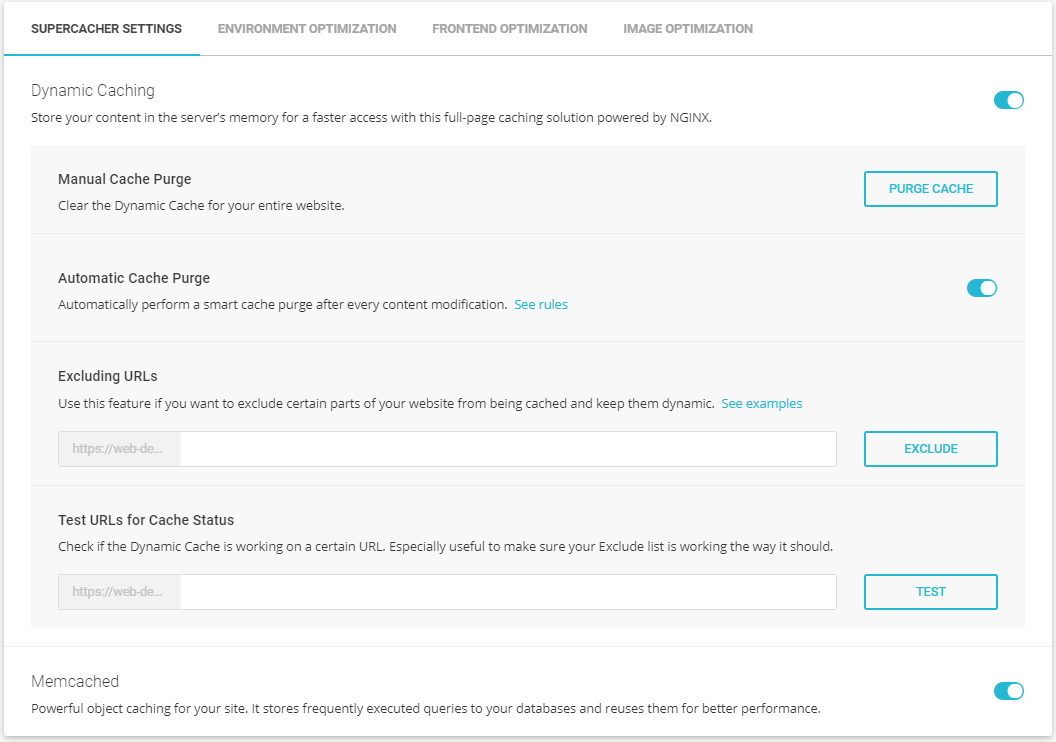
First up are the Supercacher Settings. In short, there are three switches on this page and you want to turn all three of them on. You may have trouble enabling all three if you haven’t enabled things in the SuperCacher app of your site’s cPanel. Note that the app has tabs for Static Cache, Dynamic Cache and Memcached and you need to configure a site on all three to use all of the SG Optimizer settings.
Using these caching settings will speed up your site and decrease the load on the server. As long as they don’t conflict as I described with the Stripe processing, you definitely want to use this caching.
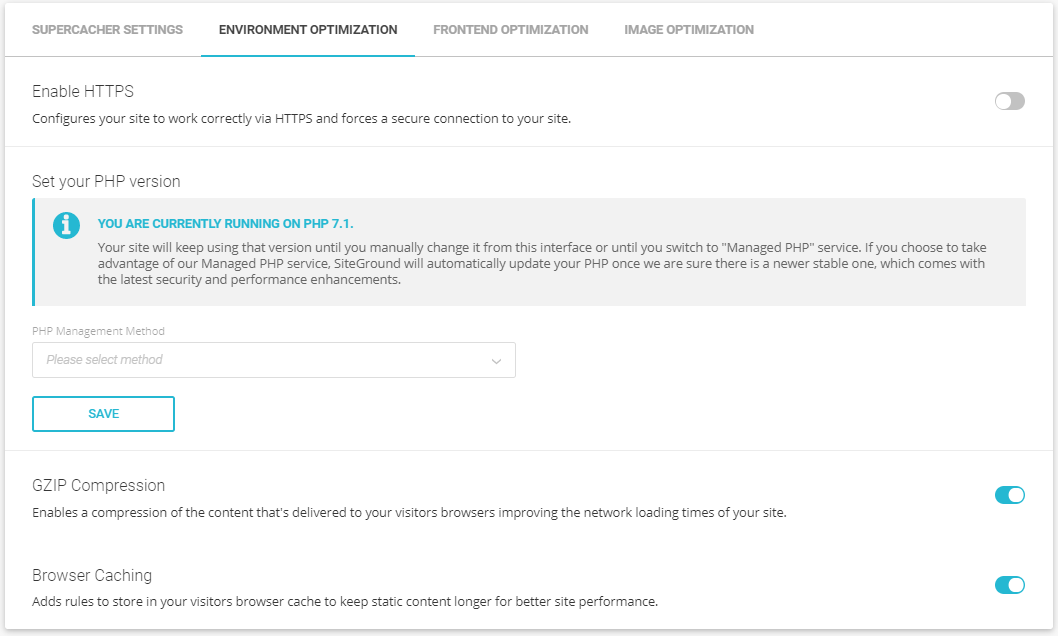
Next is the Environment Optimization tab. In the screen shot, the Enable HTTPS is turned off. This is something that may or may not be useful to you. As the site shown has it enabled in other ways, it wasn’t necessary to turn it on here. SiteGround provides a way to set the version of PHP used on a site deep within cPanel. An easier way is to choose to set it manually here. In that case, you can select an exact version. Or you can select Managed PHP and SiteGround will update it automatically to what they consider is the newest stable version.
The final two switches fro GZIP Compression and Browser Caching should both be activated. GZIP Compression will make all files leaving your site compressed and thus smaller. Smaller files gives faster performance. Browser caching will tell a visitor’s browser to hang on to content longer so it doesn’t have to be downloaded again.
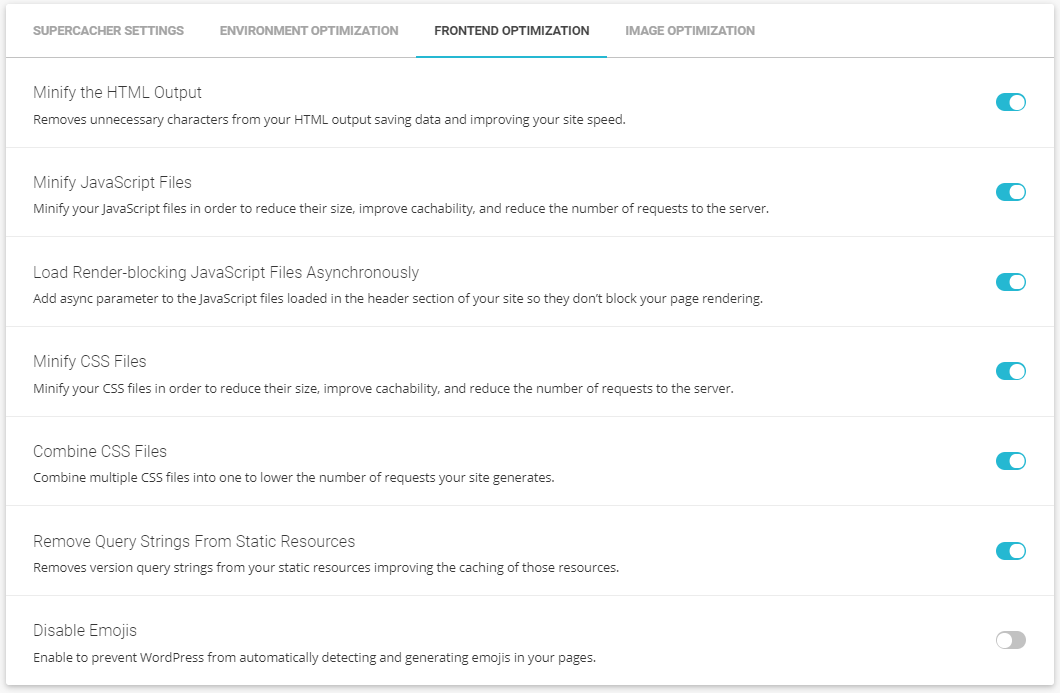
Front End Optimization provides seven separate switches each with a clear description of what it does. I typically turn on all but the last switch. I like having emojis on a site so I’ll put up with the slight decrease in speed. If emojis aren’t important on your site, go ahead and turn it on for some extra speed.
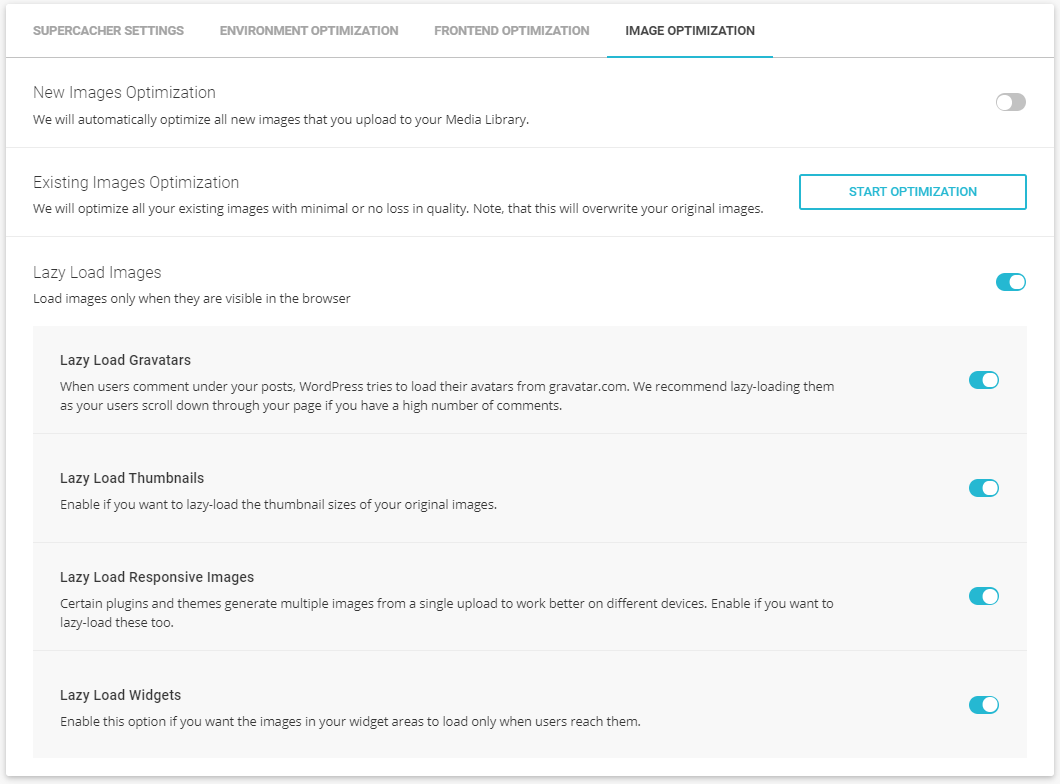
The last tab, Image Optimization, has a number of settings dedicated to the graphics on your site. You’ll note that I have the first switch disabled and all of the rest enabled. I’ll explain why soon. Below the top switch is a button that will optimize all bitmap graphics on your site. Depending on the number of files, this could take a very long time so you may want to do this before leaving the office at night.
Next we have the lazy load options and I keep them all enabled. When these are enabled, images are only loaded when they are visible in the browser window. There is certainly a good reason to wait to download them if they can’t even been seen.
Now let’s talk about why I have New Images Optimization turned off. When this plugin first appeared, I noticed I often had trouble loading PNG files on my sites. It was around the same time WordPress 5.0 shipped so I wasn’t really sure what caused it. There was a pretty simple workaround so I didn’t let it bother me.
Recently a much bigger problem reared its ugly head. Many of my projects use the Divi Theme. A very useful feature is the ability to import pre-built layouts as a page starting point and nothing I did would allow a layout to import successfully. After a very long back and forth with SiteGround support, the problem was having New Images Optimization enabled. Once it was turned off, the layout imported perfectly the first time.
It was quite difficult to get to this solution as the SiteGround support reps wanted to find every excuse possible even though I made it clear from the very beginning that the issue only happened on SiteGround sites. PNG files were blamed. Themes were blamed. Other plugins were blamed. Thankfully I was persistent enough to push them to find the real culprit. With any luck, this plugin can be fixed so that this setting can be enabled without causing any problems. Until then, I’ll keep it off.

by Foster D. Coburn III | Feb 5, 2019 | Tutorial, Web Design, WordPress
In the early days of Web design we had GIF and JPEG. Then PNG came along in the mid 90s to provide a very good alternative to GIF. Other formats have come and gone since then with none of them truly taking hold. That is, until now! The folks at Google have created the WebP format and it is one you should consider using. Let’s look at why it is beneficial and then how to use it on your WordPress site.
There are two major types of images: lossless and lossy. WebP has answers for both and those answers provide smaller files than the alternatives. Smaller files mean Web pages load faster and that’s always a good thing.
We now use JPEG format for lossy images. Lossy images have different sizes based on how much quality you are willing to sacrifice. When using an equivalent quality, WebP images are 25-35% smaller than JPEG.
PNG is typically used for lossless images and has the benefit of an alpha channel. What’s an alpha channel? It allows for varying levels of transparency. WebP can do lossless and an alpha channel while being 26% smaller than PNG.
If any of you want all the technical details, Google has the info for you. While Google provides a tool for converting images to WebP, it may not be the best choice right now for Web designers. WebP is directly supported in Chrome and Opera, but not other browsers. So if you use it directly, your pages will probably not display correctly in other browsers.
How Do I Use WebP With WordPress?
If you try to directly upload a WebP image into WordPress today, you’ll likely get a message that the file type isn’t allowed for security reasons. Given the limited browser support, that’s isn’t such a bad thing. The best way to use WebP with WordPress is via a plugin. While there are several choices, the best free option is the EWWW Image Optimizer. The plugin has a number of other features, but we’re focused on the WebP support.

Using the EWWWW Image Optimizer Plugin, you’ll still upload JPG and PNG files just as you’ve always done. The plugin converts those to WebP format and serves them up to site visitors using a supported browser. JPG images will become lossy WebP images and PNG images will become lossless WebP images (with alpha channel intact). It is also compatible with caching and content delivery networks. This option is as simple as installing the plugin and enabling the WebP feature.
Given that installing the plugin will make your images at least 25% smaller, why not give it a try now! it is a very simple way to speed up your site. Also pretty cool for geeky visitors to know you are using the latest in imaging technology.