by Foster D. Coburn III | Mar 22, 2026
Popups are one of the most effective tools for driving conversions and engagement. Whether you want to grow your email list, promote a limited-time offer, capture leads, or guide visitors toward a key action, a well-designed popup can deliver impressive results. In some cases, you can significantly increase signups or sales when a popup is timed and styled correctly.
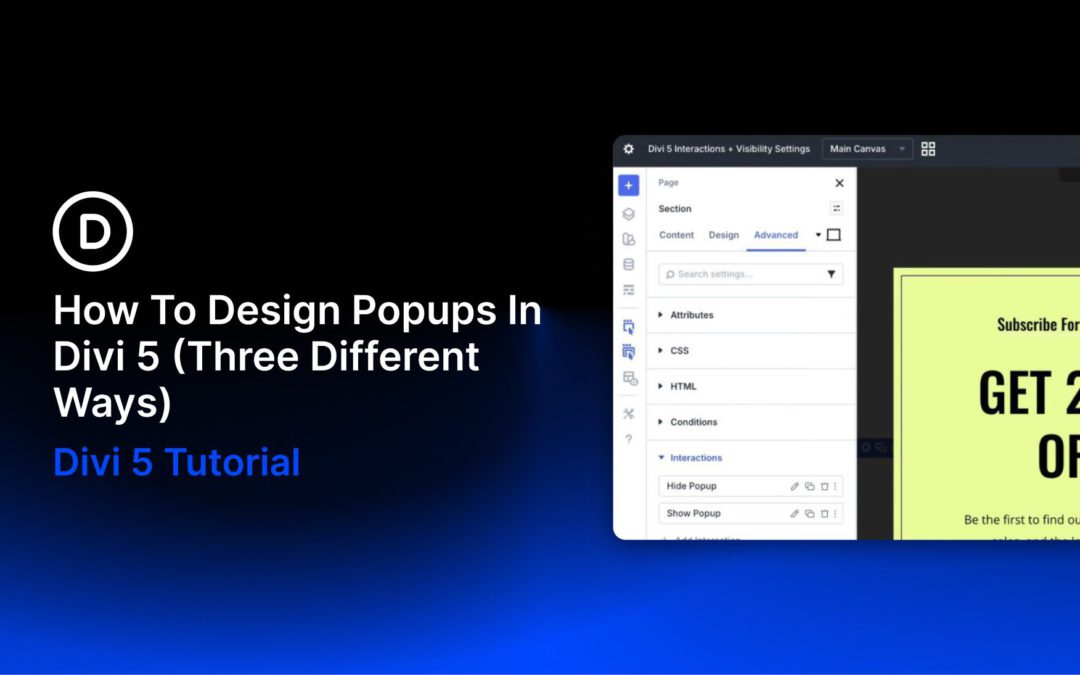
In the past, creating custom, high-performing popups in Divi typically meant relying on third-party plugins like Bloom or other tools that added extra bloat and complexity. But Divi 5 changes that. With major features like Interactions and Canvases, Divi 5 gives you native, lightweight, and flexible ways to build dynamic popups directly in the Visual Builder.
In this post, we’ll explore three distinct approaches to designing popups in Divi 5: Canvases + Interactions, Interactions + Visibility Settings, and the Bloom plugin.
by Foster D. Coburn III | Mar 21, 2026
You’ve clicked into a module to change some text. Now you need to edit the one next to it, so you close the settings and click into the neighboring module. Then you repeat the process for the third module in that row.
Each edit requires opening settings, making changes, closing out, and finding your next target. Divi 5 rethinks this workflow entirely, giving you more ways to move through your content that feel natural and keep your momentum going. And with the latest release, those navigation improvements now extend beyond individual elements to page management, previewing, and quicker access to page-level controls. Let’s look at what’s changed.
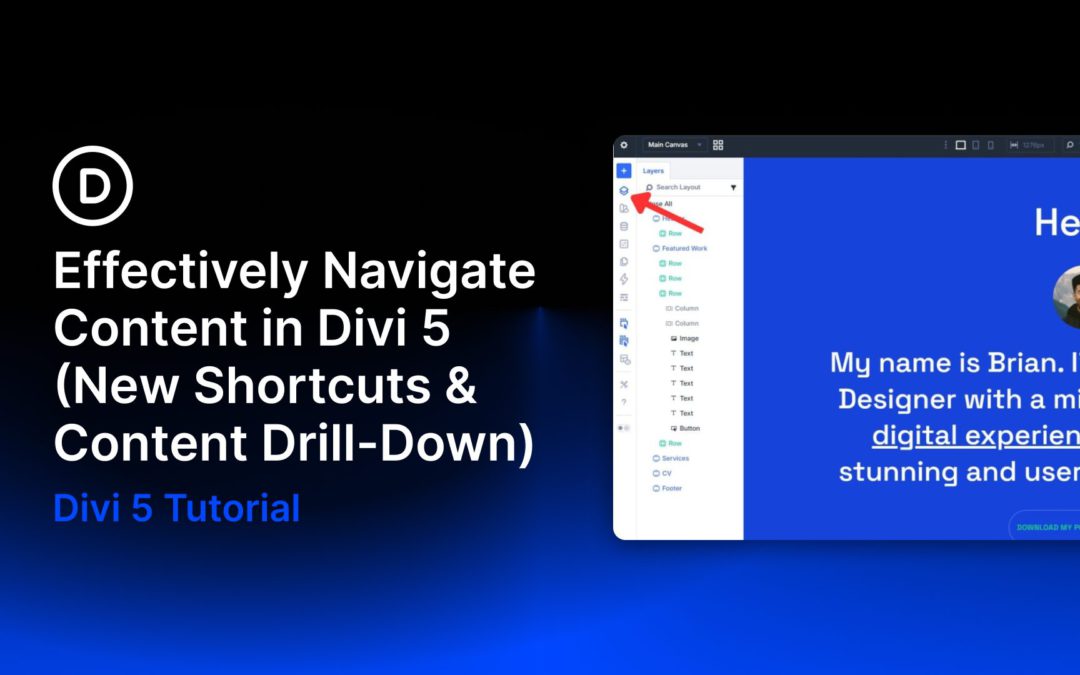
See Your Entire Page Structure At A Glance
Sections stack up, rows multiply, and before long, you’re scrolling through the canvas just to find one module buried three levels deep. Divi 5 tackles this with a set of visual tools in the left toolbar, each offering a different way to read your page structure without losing your place. Here’s what they do and when to use them.
by Foster D. Coburn III | Mar 20, 2026
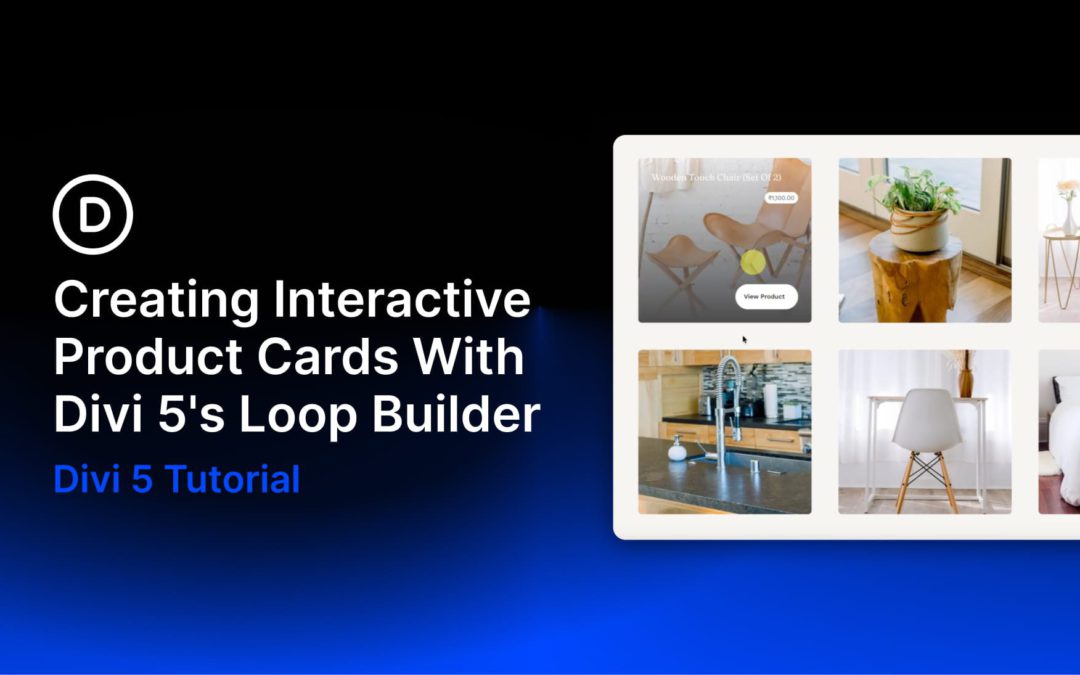
A product image needs to do two things at once: draw the reader in visually and give them enough context to take action. But loading every detail onto the card upfront quickly clutters the layout and competes with the image itself.
An image hover reveal solves that neatly. The image gets the full spotlight by default, and the supporting details appear only when the user hovers over it. In this tutorial, we’ll build exactly that in Divi 5, where hovering anywhere on a product card fades in an overlay with the product name, price, and a link to the product page.

by Foster D. Coburn III | Mar 19, 2026
Card-based layouts dominate modern web design, from blog archives and team directories to product catalogs and portfolio grids. Search engines and assistive technologies interpret these layouts through HTML structure, not visual appearance. A grid of blog post cards that looks organized to sighted users may appear as disconnected fragments to screen readers if the underlying markup lacks semantic meaning.
Divi 5’s Loop Builder generates dynamic card layouts from WordPress content and lets you apply semantic markup through Divi 5’s Custom Attributes system and Element Type controls, creating accessible, SEO-friendly card grids. Proper semantic structure can improve screen reader navigation, make content relationships clearer to search engines, and make your markup easier to maintain.
The technique applies the <ul> and <li> pattern to dynamic content while layering additional semantic elements, such as <article>, <header>, and <figure>, within each card. Because the Loop Builder duplicates your configured column for each item in the query, you only need to set up the HTML structure once. The loop handles the rest, generating consistent list markup regardless of how many posts exist.

by Foster D. Coburn III | Mar 18, 2026
A tilt effect on hover is one of those small details that makes a layout feel considered. The image shifts with the cursor, pulls back slightly, and suddenly the whole page feels alive.
Portfolio sites and product pages lean heavily on this effect, and for good reason: it keeps visitors engaged without demanding too much attention. Divi 5‘s Interactions system lets you build it directly in the Visual Builder. We’ll walk you through the entire process.
A Brief Introduction To Divi 5’s Interactions
Divi 5 Interactions runs on three parts: a trigger, an effect, and a target. The trigger starts things off, like a hover or a click. The effect is what happens as a result, like a position change or a visibility toggle. The target is the element that receives it.
All of this lives under the Advanced tab of any module, column, row, or section inside the Visual Builder. The controls are fully visual, so coding knowledge isn’t needed.